
One of the recommendations in Facebook’s media guide – Global Coronavirus Resource: Connecting People During the COVID-19 Pandemic – was to use Facebook Groups to connect with people.
But before I share this quick tutorial on how to set up your own Facebook Group, be sure you know:
- Why you are creating this Group
- Who you want to participate
- What you want them to do when they join the Group
- How the Group will be managed
In other words, don’t just create a Facebook Group to have one.
Have a clear goal in mind or you are just creating more work for yourself for no reason.
How to Create Your Facebook Group
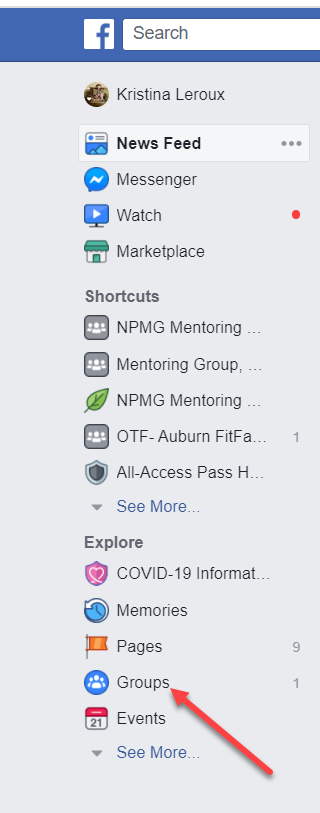
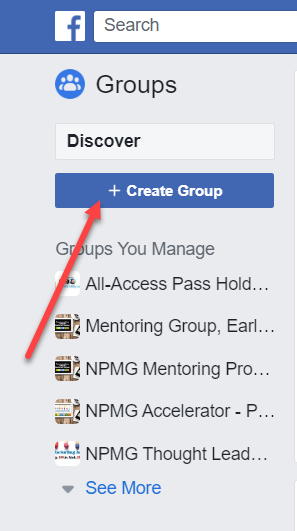
You can create your Group either through your own Facebook account by going to your Groups in the sidebar, then selecting the “Create Group” button:
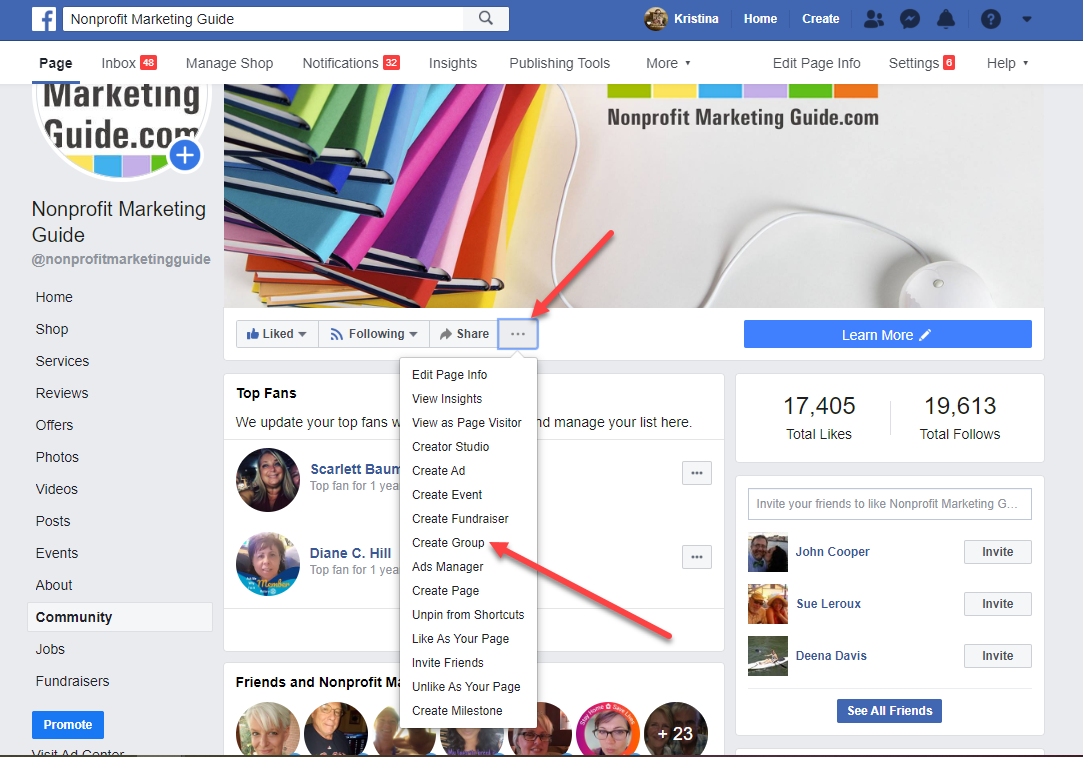
Or via your organization’s Facebook Page by going to your Page and selecting “Create Group” from the dropdown menu that appears when you click the three dots.
Once you create the Group, you are given the opportunity to name the Group, add current Facebook friends you want to be in the Group, and select the privacy settings you want.
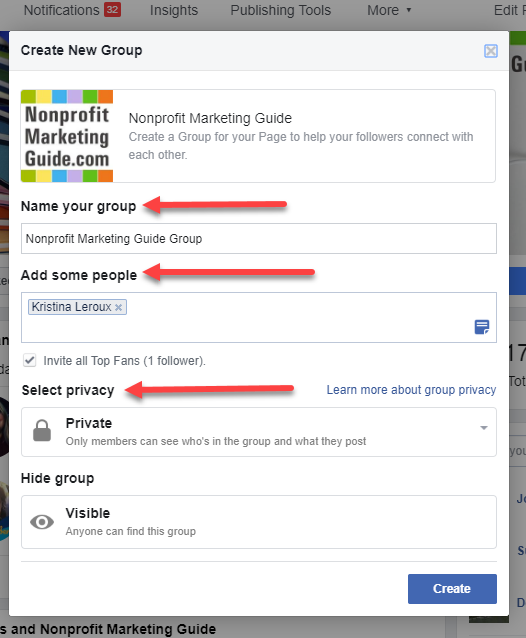
Public means “Anyone can see who’s in the group and what they post.”
And Private means “Only members can see who’s in the group and what they post.”
You can also choose to hide the Group so only members can find it, but that means you will need to be Facebook friends with everyone you initially want to invite.
Most of our Facebook Groups at Nonprofit Marketing Guide are “private” but “visible” to everyone. This way people can find the Group, but we have to let them in the Group before they can see the content.
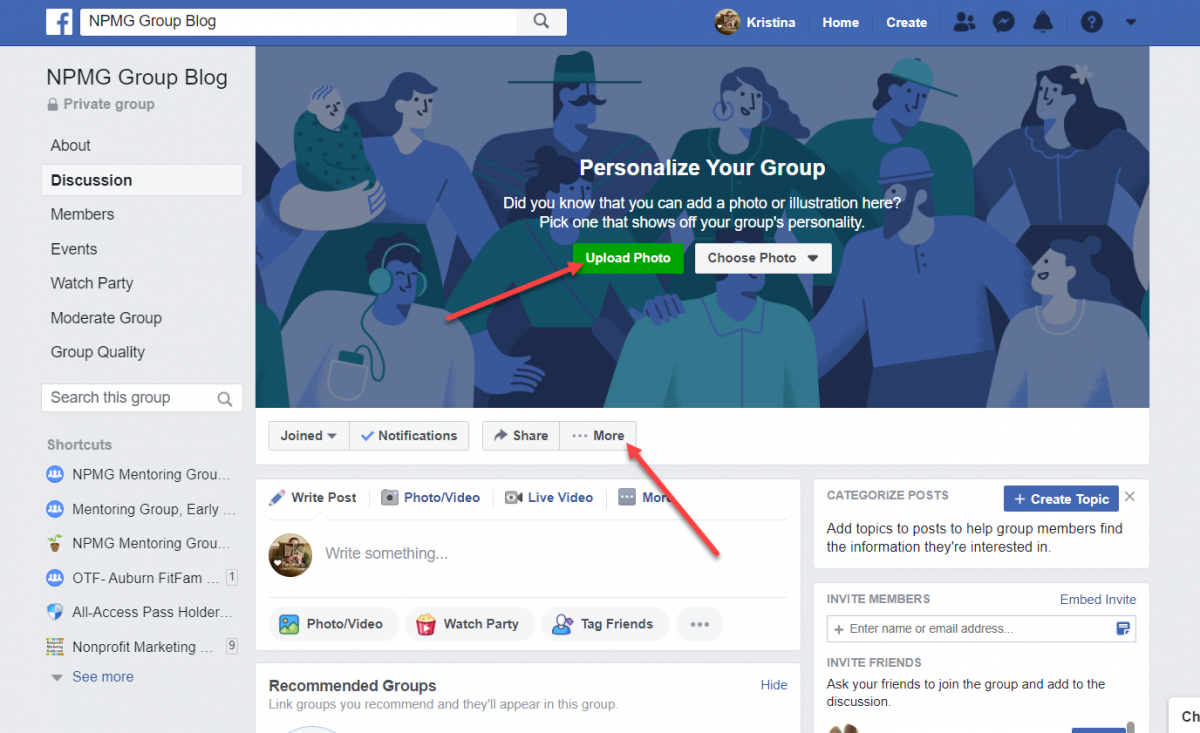
Next, create your Group by clicking the button, and you will then be redirected to it.
Here you can upload a cover photo. The recommended size is 1640 x 856 pixels, but on desktop devices the tops and bottoms are slightly cut off so leave some space.
You will also want to edit your Group settings by selecting the dropdown menu under “…More”
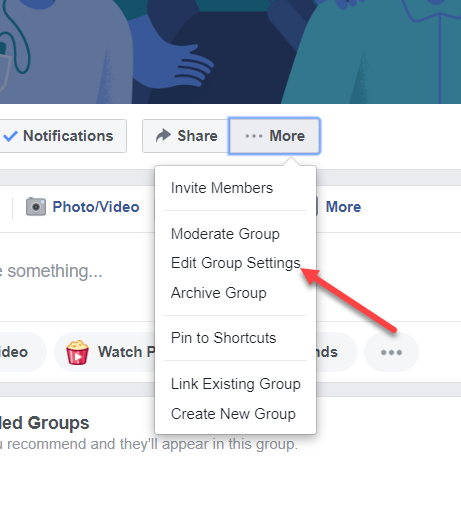
Here you can:
- Change the Group Type (General, Buy and Sell, Gaming, Social Learning, Jobs, or Work)
- Update the group description
- Add a location and any tags
- Link to your Page if you didn’t create it from your Page
- Choose a border color (for mobile)
- Customize the web address (see more below)
- Change the privacy and visibility
- Manage participation badges
- Update the sections seen in the sidebar
- Change how members are approved
- Set up questions to be asked when someone requests to join
- Change the posting permissions
- Set up keyword alerts to notify you if someone posts about a certain thing
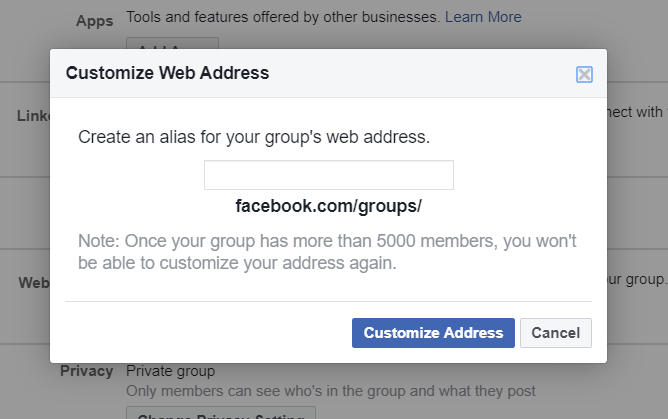
By default, your group url will be Facebook [dot] com / groups with a string of numbers behind it. So you will want to change the web address to make it easier to share your Group page.

Be sure to “save” your new settings before leaving this page.
Now, if you won’t be managing this Group by yourself, add some administrators to help you with approval requests and moderating posts. If you did not invite people when you first created the Group, then you can invite them now.
In the sidebar of your Group, select the “Members” section. Find the person you want to make an admin, click the three buttons next to their information and select “Make Admin.”

They will need to accept your invitation to be an administrator.
And now you have a Facebook Group!
You can start inviting your supporters or colleagues via email if you are not Facebook friends with them. Just send them your custom link.
We will share some more ideas on what to do with your Facebook Group in the coming days so stay tuned.


